Wow! What a year its been! Don't even get me started...but suffice it to say EVERYTHING in our lives is different since my last post. Address, both our jobs, school, the state we live in, AND we have a new baby boy chick!

Well, I thought I was done blogging but I can't stay away. I've been working on organization around the house and want to share!
Here's the latest: a toy room. My two oldest needed to share a bedroom since we have a new baby in the house. So we bought bunk beds and put ALL their belongings in the same room. Yikes! It was so crowded with all those toys in there!

We started by moving all the tubs from the IKEA toy boxes out to our unused dining room and re-sorting everything. Check out the pile of stuff from the lil rooster's boxes!

Let the sorting begin! Each lil chick has 6 bins. What I love about these bins is that the toys can be categorized and are then easier to play with and pick up. They can pull out the "Mr. Potato Head" bin, carry it to the location of their choice to play, and then just toss everything back in and put the bin back in the toy box when finished. And yes, that is a trash can in the corner...but I had to be sneaky to give some of the Happy Meal toys a new home!


The next problem we had were all the stuffed animals. At the time most of them resided on each kid's bed and there were still some in the baby's room. Solution? I dug out the tents we got from IKEA and had the kids toss all their animals in their respective tents. I read at
OrganizedHome.com that when organizing kids' rooms you should "make it easier to put away, harder to get out". This tent solution definitely falls in that category. To get out they have to crawl in and select an animal. To put away, just toss it in! Perfect! I also employed Organized Home's idea of storing books in dish pans but we left those in the bed room so they could be handy for bedtime stories.

So here's the finished product. The kids seemed more apt to play with all their toys and the room has stayed quite clean! I also love that the kids are centrally located in the house and not tucked away in their bed room.

All this organizing even inspired the oldest to do some organizing of his own. Transformers, roll out!


 Well, I thought I was done blogging but I can't stay away. I've been working on organization around the house and want to share!
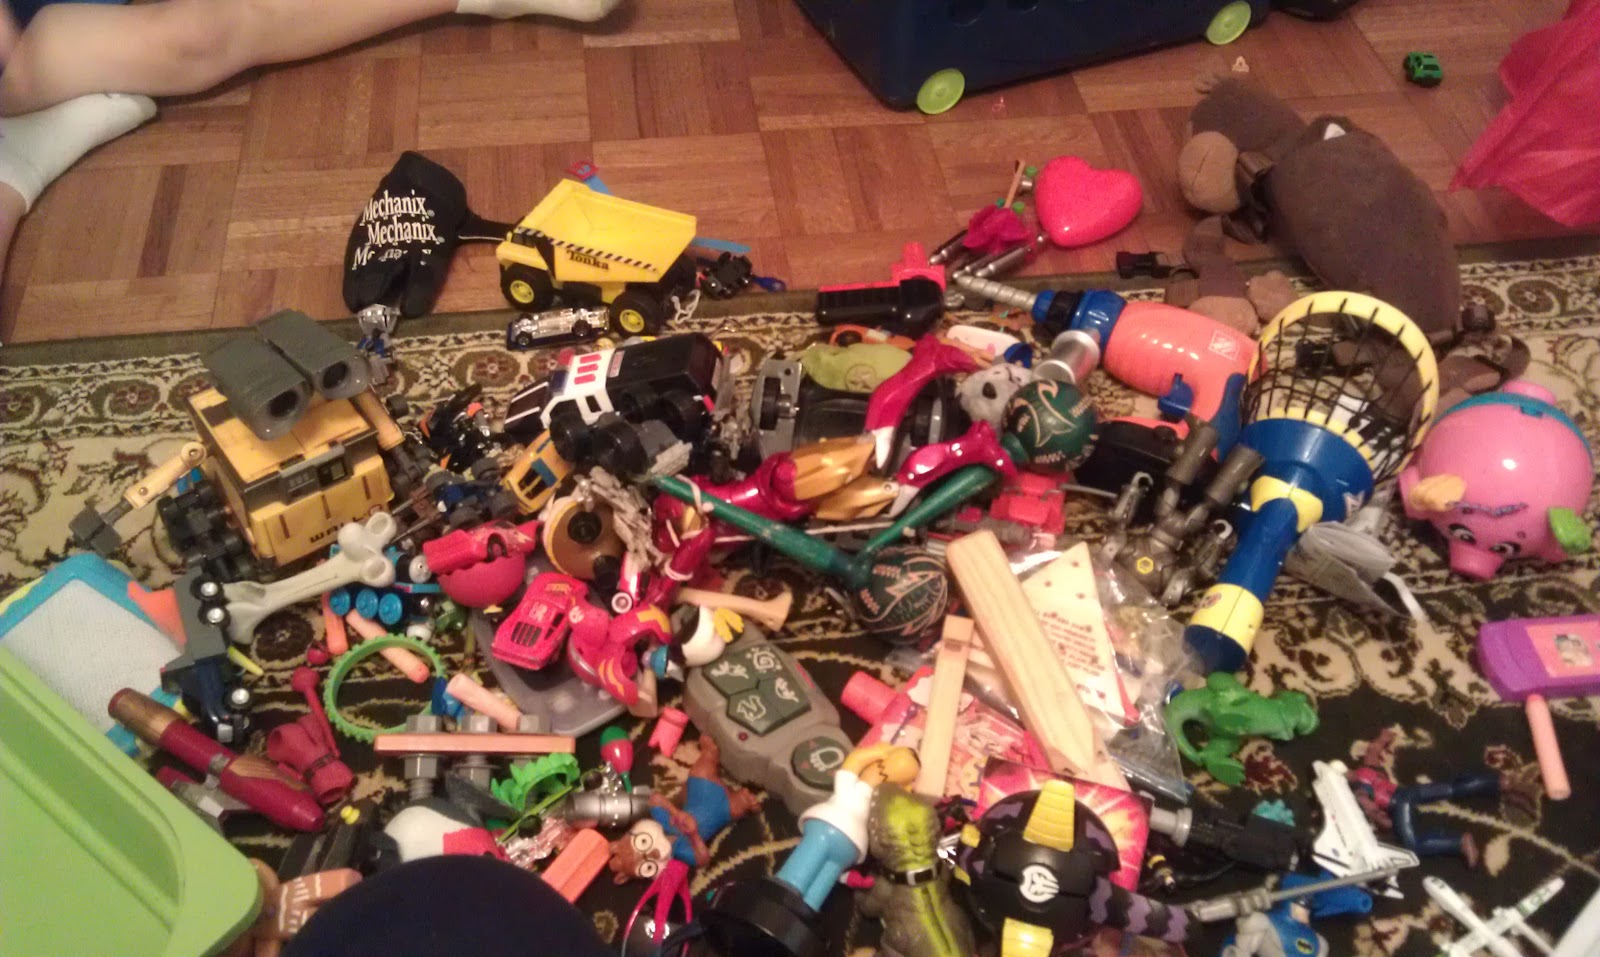 We started by moving all the tubs from the IKEA toy boxes out to our unused dining room and re-sorting everything. Check out the pile of stuff from the lil rooster's boxes!
 Let the sorting begin! Each lil chick has 6 bins. What I love about these bins is that the toys can be categorized and are then easier to play with and pick up. They can pull out the "Mr. Potato Head" bin, carry it to the location of their choice to play, and then just toss everything back in and put the bin back in the toy box when finished. And yes, that is a trash can in the corner...but I had to be sneaky to give some of the Happy Meal toys a new home!
 The next problem we had were all the stuffed animals. At the time most of them resided on each kid's bed and there were still some in the baby's room. Solution? I dug out the tents we got from IKEA and had the kids toss all their animals in their respective tents. I read at OrganizedHome.com that when organizing kids' rooms you should "make it easier to put away, harder to get out". This tent solution definitely falls in that category. To get out they have to crawl in and select an animal. To put away, just toss it in! Perfect! I also employed Organized Home's idea of storing books in dish pans but we left those in the bed room so they could be handy for bedtime stories.
 So here's the finished product. The kids seemed more apt to play with all their toys and the room has stayed quite clean! I also love that the kids are centrally located in the house and not tucked away in their bed room.


