
Friday, February 6, 2015
Busy Crocheting
This Tetris afghan didn't have a pattern. It took me a little while but I eventually figured something out that would work. Working on these little squares took the better part of a year's spare time but I finally got it done!
Wednesday, February 27, 2013

Sunday, February 10, 2013
S'mores in a Pinch
So our last camping trip was a teeeeny bit cold and we didn't get as much campfire time as we usually do. We couldn't let all those s'mores ingredients go to waste now could we? But the problem is how to roast the marshmallows? Candle flames are too small and the microwave makes them too puffy.
Enter the embossing gun! This lil beauty has been hiding in my neglected craft drawers. Little did I know it makes perfect s'mores. My hubby suggested his shrink wrap gun too but I don't think we would have had any left over marshmallows anymore!

Enter the embossing gun! This lil beauty has been hiding in my neglected craft drawers. Little did I know it makes perfect s'mores. My hubby suggested his shrink wrap gun too but I don't think we would have had any left over marshmallows anymore!
Sunday, April 15, 2012
One For The Guys
So I don't know if I'm alone here or not, but my husband tends to lose things in the garage. Recently I told him that he needed a tool cart to set things on while he works. That way he won't lose hardware or tools...and then dinner won't burn while I help him frantically look for things. He agreed! So this weekend he purchased a tool cart...he said he had to put it together and I wondered...why? But I was just glad to have the top of my deep freezer back so I didn't ask any questions. Once I saw the finished product I understood. He attached a set of air hose quick-disconnect fittings to one side to hang his air tools. What a great idea! He got this idea from a friend...and it's way blog worthy! Enjoy!
 Drill holes and mount the male fitting facing towards the bottom using a washer for support. (FYI - He did have to cut the edge of the washers off with a cut-off wheel because they were too big.)
 Mount the female fittings on the bottom/outside and attach your tools. Voila!


Friday, February 24, 2012
Long Time, No See!
Wow! What a year its been! Don't even get me started...but suffice it to say EVERYTHING in our lives is different since my last post. Address, both our jobs, school, the state we live in, AND we have a new baby boy chick!
 Well, I thought I was done blogging but I can't stay away. I've been working on organization around the house and want to share!
Here's the latest: a toy room. My two oldest needed to share a bedroom since we have a new baby in the house. So we bought bunk beds and put ALL their belongings in the same room. Yikes! It was so crowded with all those toys in there!
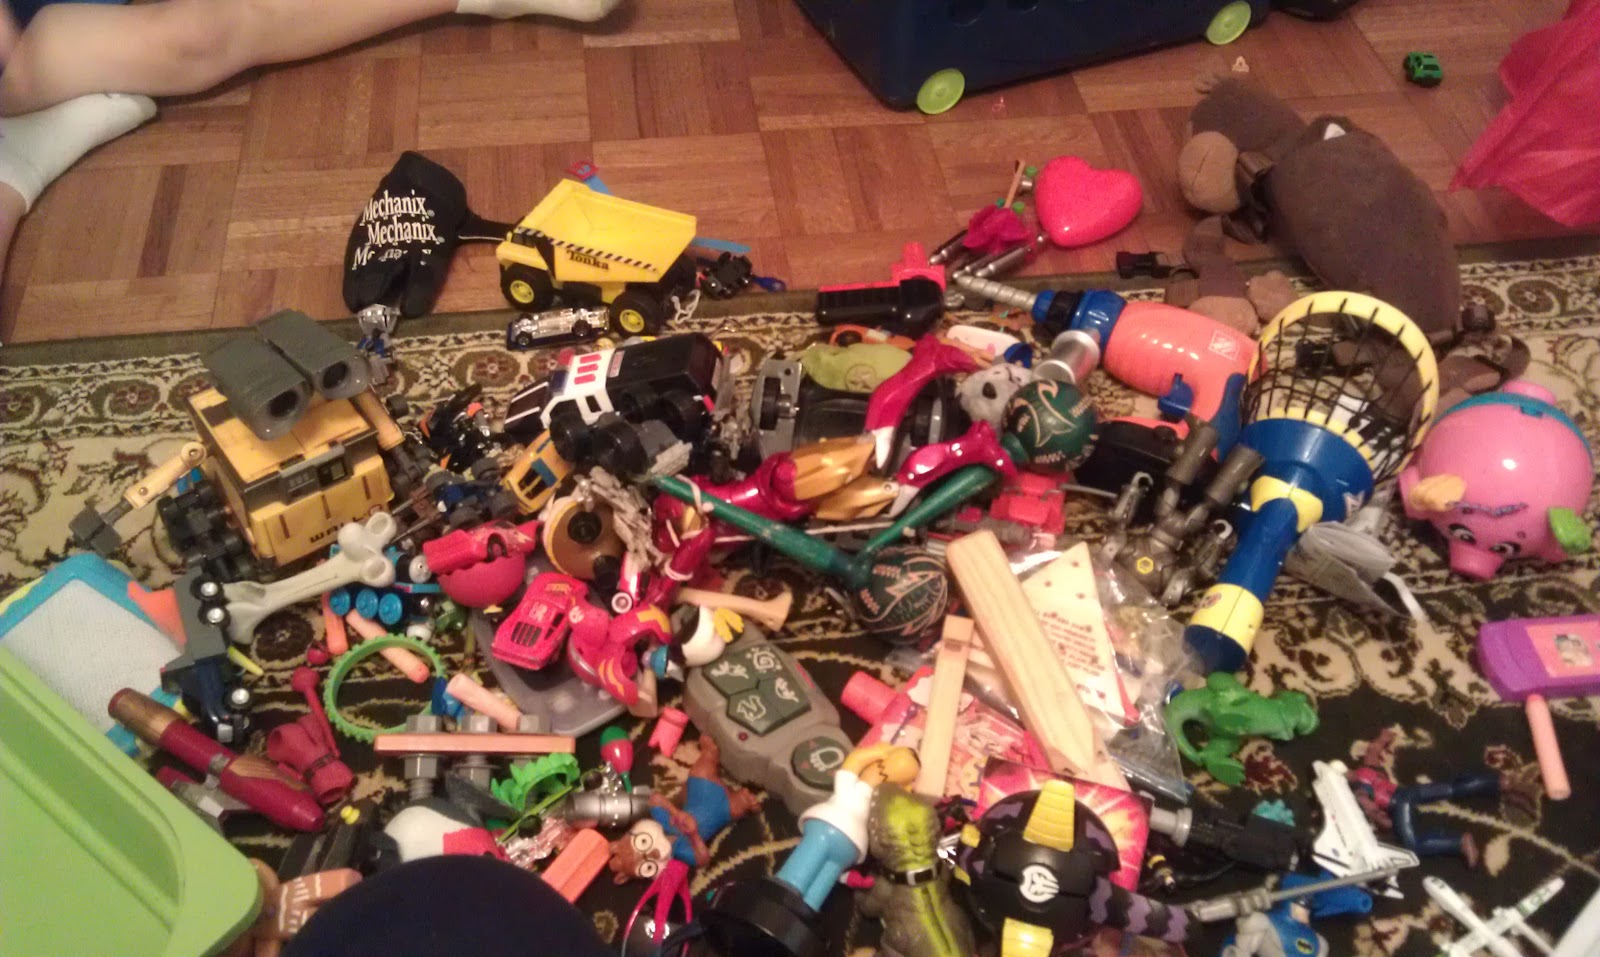
 We started by moving all the tubs from the IKEA toy boxes out to our unused dining room and re-sorting everything. Check out the pile of stuff from the lil rooster's boxes!
 Let the sorting begin! Each lil chick has 6 bins. What I love about these bins is that the toys can be categorized and are then easier to play with and pick up. They can pull out the "Mr. Potato Head" bin, carry it to the location of their choice to play, and then just toss everything back in and put the bin back in the toy box when finished. And yes, that is a trash can in the corner...but I had to be sneaky to give some of the Happy Meal toys a new home!

 The next problem we had were all the stuffed animals. At the time most of them resided on each kid's bed and there were still some in the baby's room. Solution? I dug out the tents we got from IKEA and had the kids toss all their animals in their respective tents. I read at OrganizedHome.com that when organizing kids' rooms you should "make it easier to put away, harder to get out". This tent solution definitely falls in that category. To get out they have to crawl in and select an animal. To put away, just toss it in! Perfect! I also employed Organized Home's idea of storing books in dish pans but we left those in the bed room so they could be handy for bedtime stories.
 So here's the finished product. The kids seemed more apt to play with all their toys and the room has stayed quite clean! I also love that the kids are centrally located in the house and not tucked away in their bed room.

All this organizing even inspired the oldest to do some organizing of his own. Transformers, roll out!
 Well, I thought I was done blogging but I can't stay away. I've been working on organization around the house and want to share!
Here's the latest: a toy room. My two oldest needed to share a bedroom since we have a new baby in the house. So we bought bunk beds and put ALL their belongings in the same room. Yikes! It was so crowded with all those toys in there!
 We started by moving all the tubs from the IKEA toy boxes out to our unused dining room and re-sorting everything. Check out the pile of stuff from the lil rooster's boxes!
 Let the sorting begin! Each lil chick has 6 bins. What I love about these bins is that the toys can be categorized and are then easier to play with and pick up. They can pull out the "Mr. Potato Head" bin, carry it to the location of their choice to play, and then just toss everything back in and put the bin back in the toy box when finished. And yes, that is a trash can in the corner...but I had to be sneaky to give some of the Happy Meal toys a new home!
 The next problem we had were all the stuffed animals. At the time most of them resided on each kid's bed and there were still some in the baby's room. Solution? I dug out the tents we got from IKEA and had the kids toss all their animals in their respective tents. I read at OrganizedHome.com that when organizing kids' rooms you should "make it easier to put away, harder to get out". This tent solution definitely falls in that category. To get out they have to crawl in and select an animal. To put away, just toss it in! Perfect! I also employed Organized Home's idea of storing books in dish pans but we left those in the bed room so they could be handy for bedtime stories.
 So here's the finished product. The kids seemed more apt to play with all their toys and the room has stayed quite clean! I also love that the kids are centrally located in the house and not tucked away in their bed room.
All this organizing even inspired the oldest to do some organizing of his own. Transformers, roll out!
Tuesday, February 8, 2011
Fridge Frames
My kids are not even in school yet and we seem to have an endless supply of art projects that they do at daycare. Thus far they have either been piled up in the closet, floating around the house or car...or crumpled...or lost altogether. I wanted a way to display the art without having to visit the framing department at our local Michael's store, and also did not want to just tape them to the fridge...and then have to re-tape every time a new masterpiece came home. So I came up with Fridge Frames.
I started with a layered 11x14 mat that comes in a picture frame or that you can buy separately for a couple bucks. Next, I attached a clear 8.5x11 sheet protector over the 8x10 opening to make "glass" for the frame. Then I cut some foam core board into 1/2 inch strips and attached them along 3 sides of the mat, being careful to ensure there was enough room for a 9x12 piece of paper (the size of construction paper) between them. Finally, I attached a piece of thin cardboard to the three strips of foam core and stuck on adhesive magnets. I also made a little cutout in the cardboard backing for easy access to the inserted works of art. Now my fridge will always be decorated for the season!
I started with a layered 11x14 mat that comes in a picture frame or that you can buy separately for a couple bucks. Next, I attached a clear 8.5x11 sheet protector over the 8x10 opening to make "glass" for the frame. Then I cut some foam core board into 1/2 inch strips and attached them along 3 sides of the mat, being careful to ensure there was enough room for a 9x12 piece of paper (the size of construction paper) between them. Finally, I attached a piece of thin cardboard to the three strips of foam core and stuck on adhesive magnets. I also made a little cutout in the cardboard backing for easy access to the inserted works of art. Now my fridge will always be decorated for the season!

Here's the first Fridge Frame I made for the lil Rooster. I will be making another one for the Chick and I will update this post with step by step photos and instructions.
Time Saving Tip for this installment: I worked on this a little at a time while cooking dinner, chatting with the Daddy Rooster, and while doing my taxes. Isn't multi-tasking great? :)
Friday, January 28, 2011

Subscribe to:
Posts (Atom)